This article presents one way to make a website for researchers and scientists. This is one of many methods, and there is probably a better way. I have created this website with the following process, and even if you have little knowledge of computers, you can easily make it, and it doesn’t spend so much time.
1. Sign up for GitHub and Create a New Repository
To get started, sign up for GitHub and create a new repository. The repository can be either public or private.

2. Get the Theme You Want.
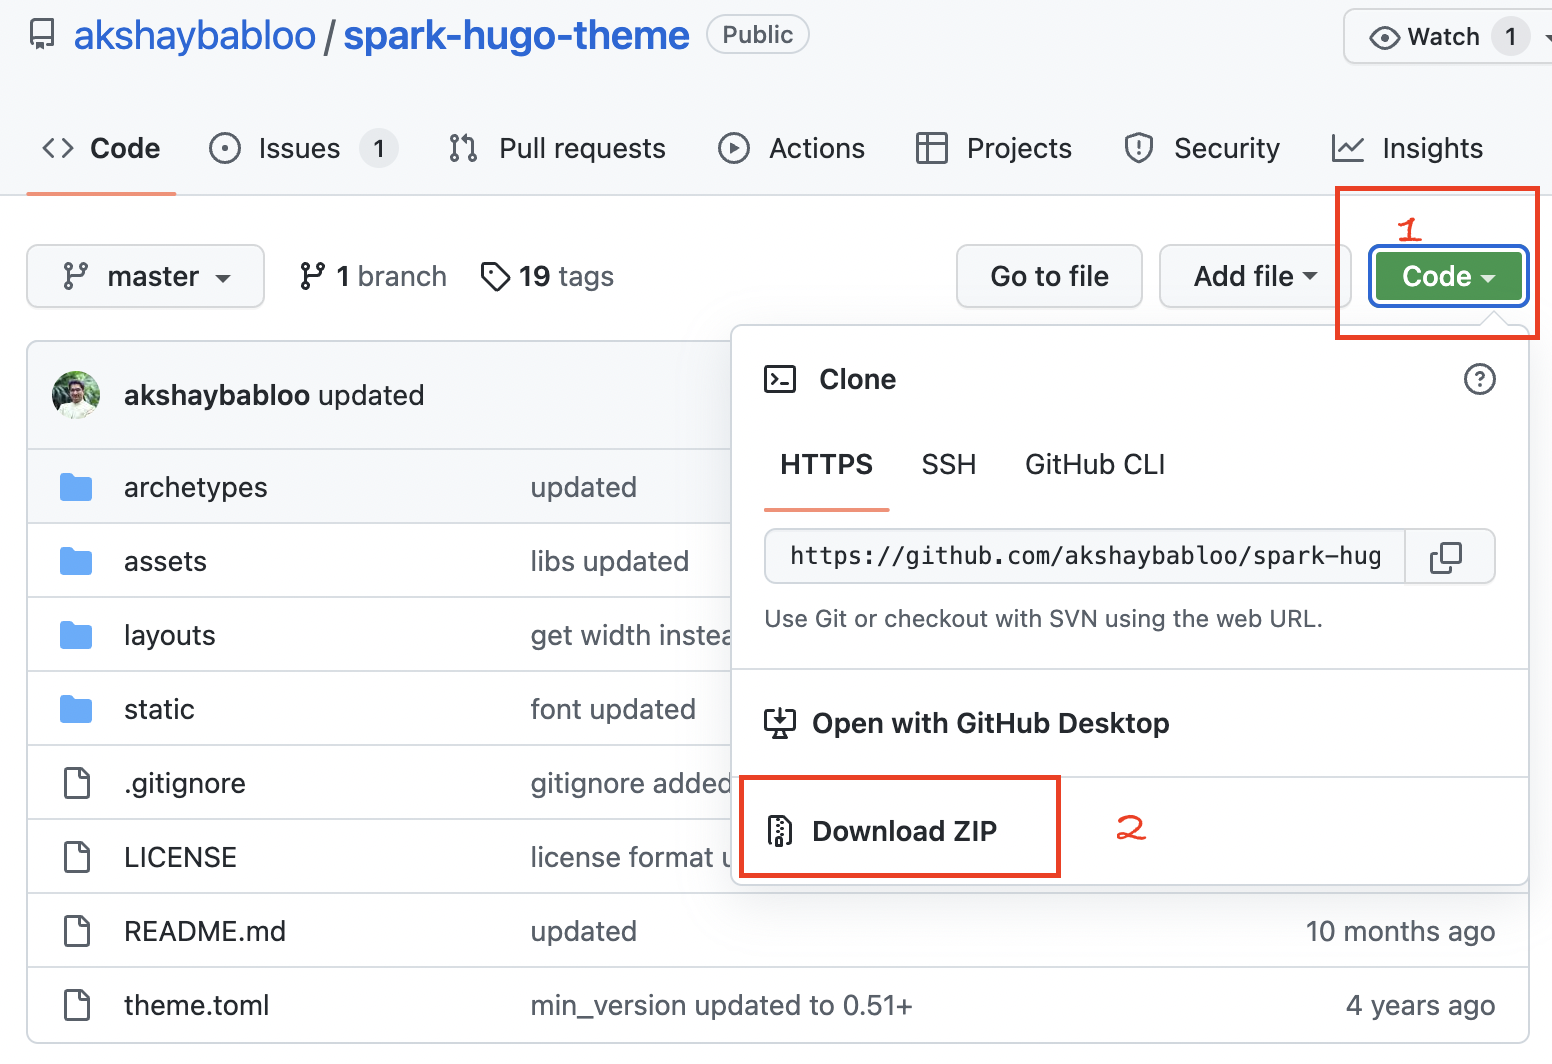
Download the recommended theme of your choice.
- My website: Zzo (Download)
- Academic by Wowchemy (Download) (Demo)
- Spark (Download) (Demo)
- Cupper (Download) (Demo)
Wowchemy offers a variety of templates researchers may need such as Research Group, Academic Resumé, Portfolio, Online Course, etc. Copper and Spark are also popular templates with sleek designs. Other templates are available on their GitHub.

3. Unzip the file and upload the files in the directory to your GitHub repository.
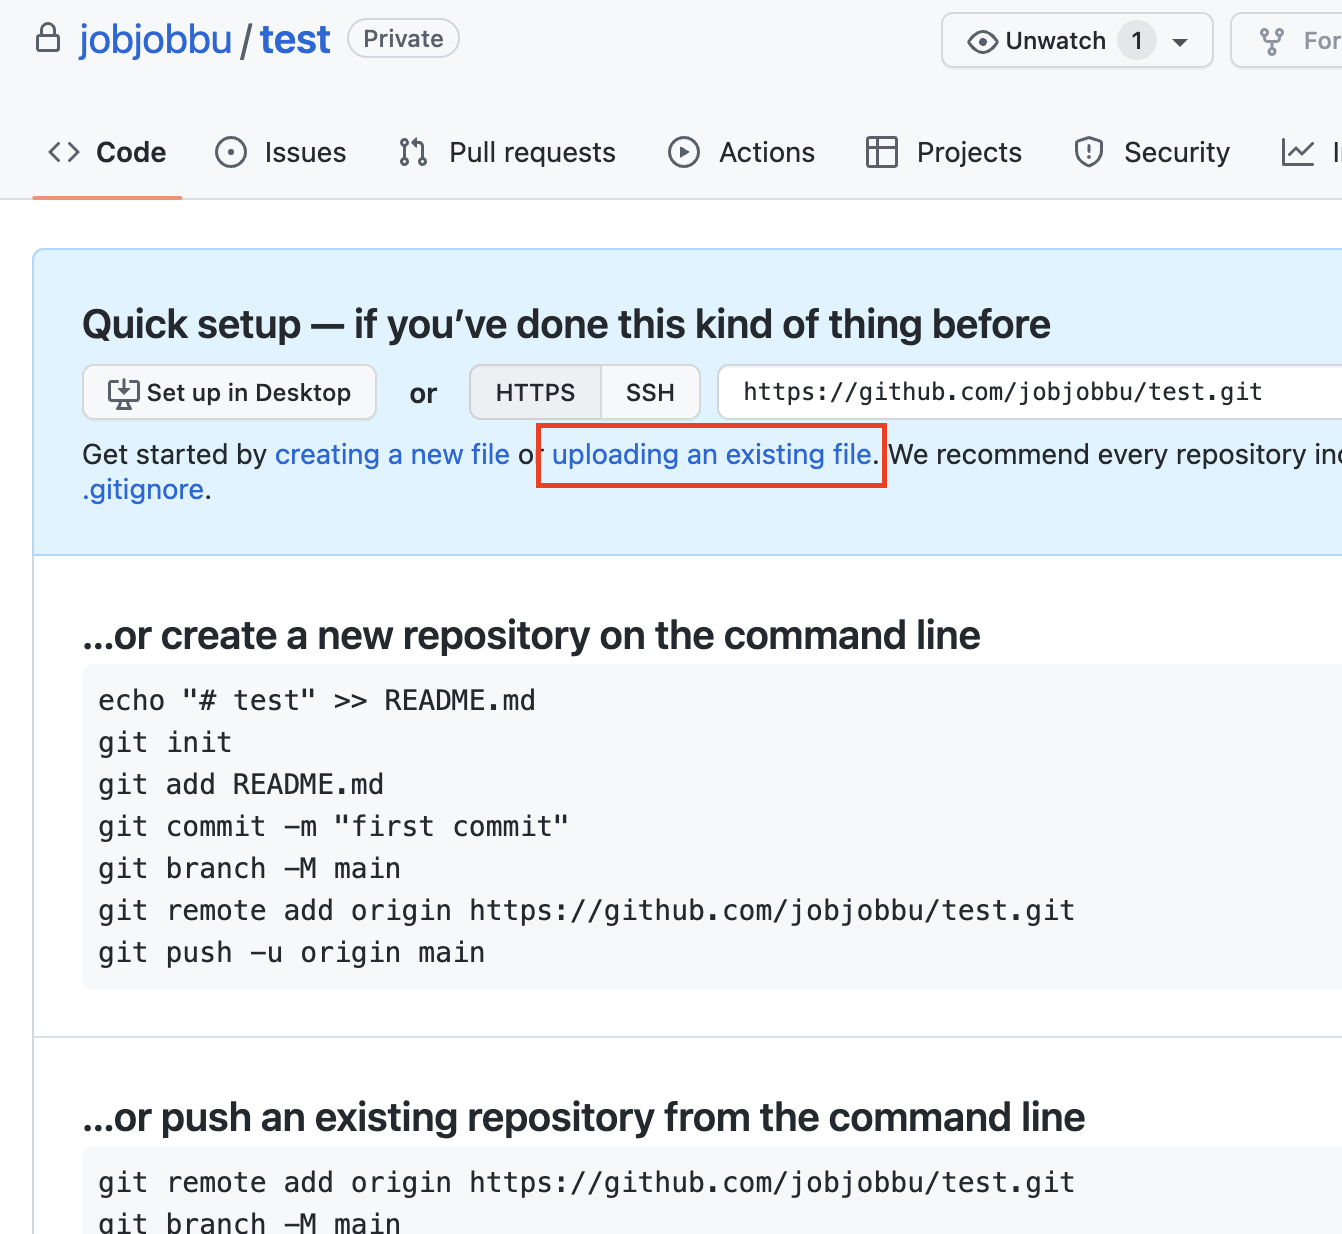
Unzip the file and upload the files in the directory to your GitHub repository.
3.1 You must create a ‘Netlify.toml’ file if it does not already exist.
Academic does not need to perform this process as it already includes Netlify files.
Case) Zzo Theme
Ensure that you create two netlify.toml files in the following directories and config.toml. To do this,
“Add file” - “Create new file”
test(your root dir)/netlify.toml
[build]
  publish = "exampleSite/public"
  command = "cd exampleSite && hugo --gc --themesDir ../.."

[build.environment]
  HUGO_VERSION = "0.93.3"
  HUGO_THEME = "repo"
  HUGO_BASEURL = "/"
test(your root dir)/exampleSite/netlify.toml
[build]
publish = "public"
command = "hugo --minify --gc"

[build.environment]
HUGO_VERSION = "0.87.0"
HUGO_BASEURL = "/"
test(your root dir)/exampleSite/config.toml
baseURL = "http://example.org/" # The URL of your site.
title = "Hugo Zzo Theme" # Title of your site
theme = "zzo" # Name of Zzo theme folder in `themes/`.

defaultContentLanguage = "en" # Default language to use (if you setup multilingual)
defaultContentLanguageInSubdir = true # baseURL/en/, baseURL/kr/ ...
hasCJKLanguage = true # Set `true` for Chinese/Japanese/Korean languages.

summaryLength = 70 # The length of a post description on a list page.
buildFuture = true # if true, we can use future date for talks page

copyright = "©{year}, All Rights Reserved" # copyright symbol: $copy; current year: {year}
timeout = 10000
enableEmoji = true
paginate = 13 # Number of items per page in paginated lists.
rssLimit = 100

enableGitInfo = false # When true, the modified date will appear on a summary and single page. Since GitHub info needs to be fetched, this feature will slow down to build depending on a page number you have
googleAnalytics = ""

[markup]
  [markup.goldmark]
    [markup.goldmark.renderer]
      hardWraps = true
      unsafe = true
      xHTML = true
  [markup.highlight]
    codeFences = true
    lineNos = true
    lineNumbersInTable = true
    noClasses = false
  [markup.tableOfContents]
    endLevel = 3
    ordered = false
    startLevel = 2

[outputs]
  home = ["HTML", "RSS", "JSON"]

[taxonomies]
  category = "categories"
  tag = "tags"
  series = "series"
4. To deploy your site, add the Github repository to Netlify.
To sign in to Netlify, use your GitHub account.
Netlify provides the domain ‘something.netlify.com’. If you prefer a different URL, you can purchase it from a domain hosting company like Godaddy or Namecheap.
Once all required files, such as netlify.toml and config.toml, are uploaded to GitHub, your site will be live.
5. Add CMS at forestry.io
You can change the contents of the web page by modifying markdown files in the repository. To post an article using the Content Management System (CMS), connect your GitHub account at forestry.io.
